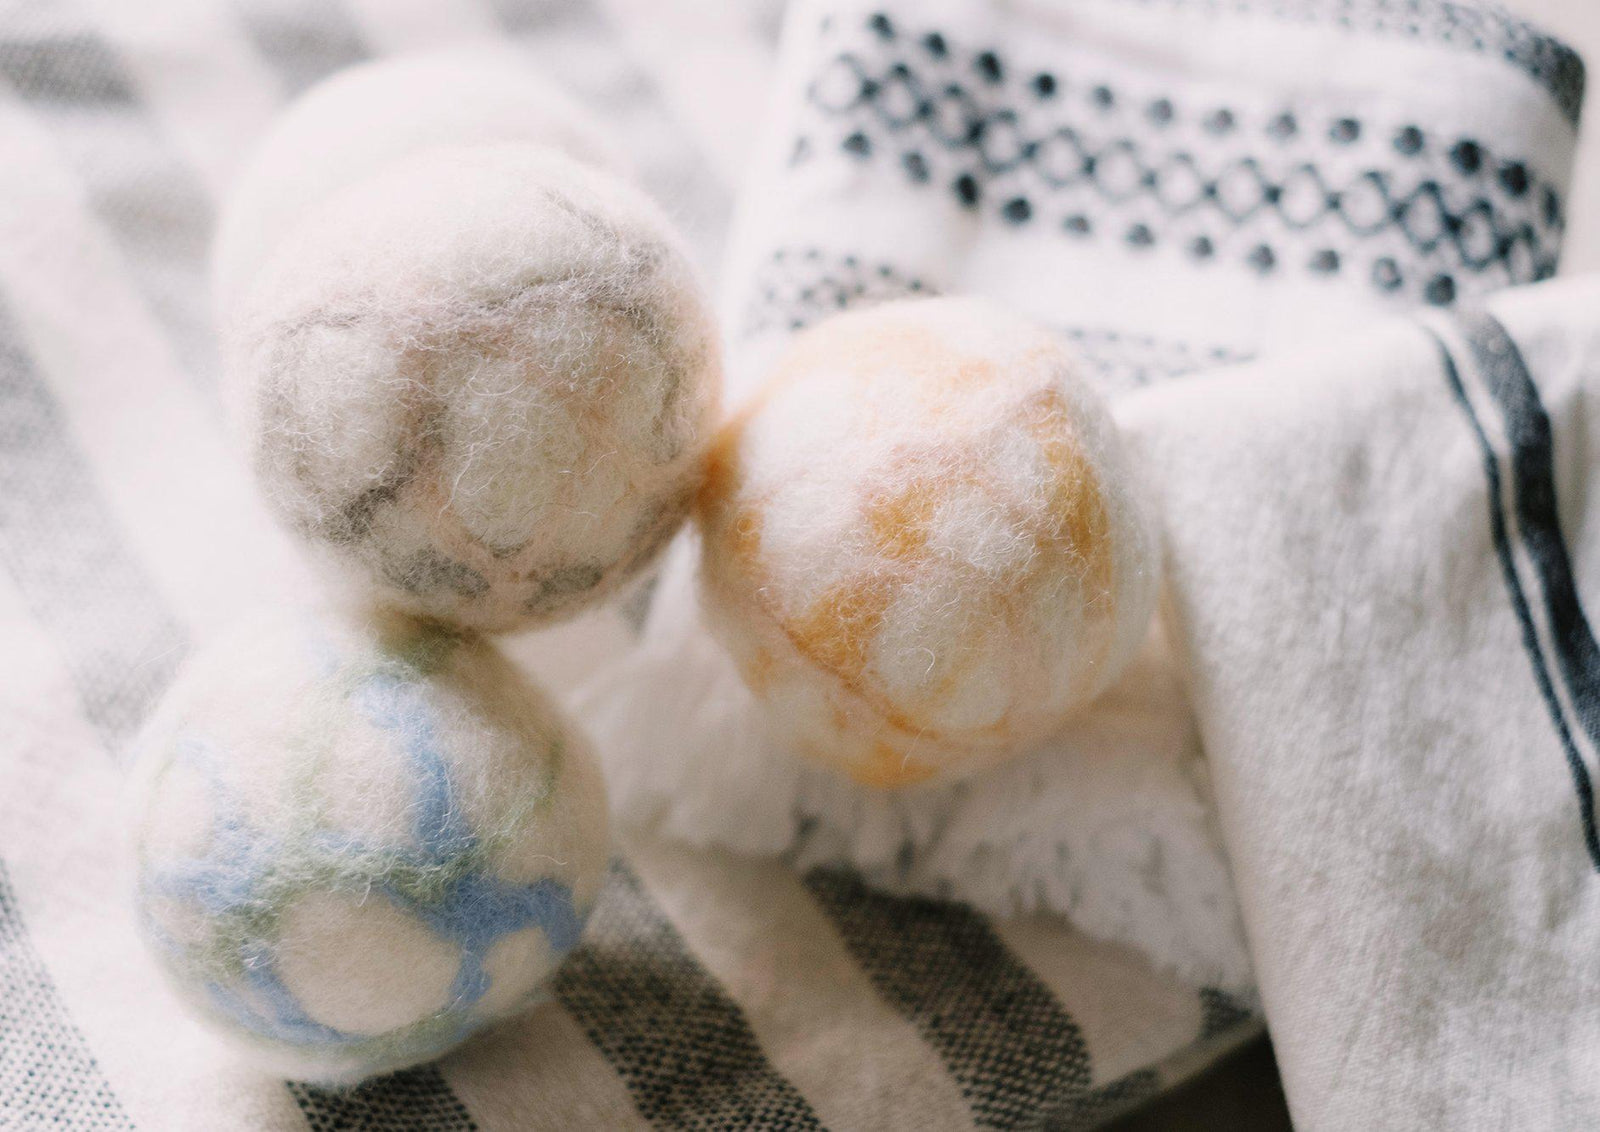
This little DIY is perfect for beginners, even the littlest helpers can help & it's perfect for those grey days we so frequently have during the winter months. I love its simplicity, instant gratification (think 1-2 hrs tops), and it is ridiculously relaxing to work with something so soft and tactile.

Wool dryer balls are an excellent alternative to the chemical-laden and wasteful dryer sheets and softener that we so frequently use in our laundry in North America. I'm embarrassed to say I first tried wool dryer balls not as a means to limit our use of softener or dryer sheets, something that is now incredibly important to me. I was simply looking for something, ANYTHING, to cut the static. We were currently living in the desert in Arizona, with zero percent humidity...and even softener and 3 dryer sheets per load was not cutting it. I know. Horrible for our skin, our bodies, and the environment. On top of all of that, I was still left with a solid ball of electrocution-level static with every. single. load. It was on just such a hair-on-end laundry wrestling day that a sweet mama who was visiting for a play date asked why in the world I was not using wool dryer balls?! She insisted they worked, and even better, she would bring the wool the next morning and we could make them with our kiddos. I was intrigued, but clearly she didn't see the size 4 toddler princess panties clinging to my shirt, no magical wool ball was going to solve my problems.
The next morning we spent less than 30 minutes assembling these little wool balls, we chatted over tea as the kids wound up the wool roving in between us. Then we washed them on a short hot load, 30 more minutes. We tossed them in my dryer and once they felt completely dry she helped me cut them out from the panty hose I had purchased and never worn..and voilá, I had myself a set of four little dryer balls.
The next load of laundry was life changing, and I will be forever grateful to my play-date friend. With the use of softener, but no dryer sheets, I had ZERO static. My laundry was soft and dried faster than it normally did. About a year down the road as we were removing chemicals from our home, I removed the softener and replaced it with 2 tsp of white vinegar per load. Not the change I expected. With the vinegar my towels dried better, our whites were whiter, and our clothes were even less wrinkled. I still, 8 years later, have that first set of dryer balls, and they look just about the same as they did the day we made them. They must have been through thousands of dryer cycles at this point. We also make these every year, the kids love playing with different designs and colors, and we gift them to family and friends. We hope you love this simple DIY just as much as we do! Be warned, its addicting to felt wool! Once you are hooked, there's no going back!

How To Make Wool Dryer Balls
What you will need:
- Wool roving (you can find this online at Amazon), but if possible, we recommend purchasing from a local farm that has non-mulesed sheep and is 100% natural - not ever bleached. (Also, if you buy from Amazon, this is a LOT of wool - this particular bag will make 10-12 dryer balls.)
- Old tights or panty hose...they will be ruined when you are finished.
- Very hot water or a washer on the hot cycle and heated drying
If you are adding colored wool, wrap the larger ball in your strands of colored wool roving. The strands will move some during the felting process, so you don't need to be too precise here. Perfect for little helpers to do!

Next, clasping your wool ball in your hand, work the stocking up over your hand and arm, until you can release the ball in the bottom of the foot of the stocking. Pull the stocking up gently around the ball so that it is very tight, and tie a tight knot above. Continue doing this up the leg until you have all your dryer balls tied off.

Toss this lumpy panty hose contraption into your washer and wash on a 30 minute (minimum) HOT cycle. It is critical the water is hot and not just warm.
Once washed, remove from washer and help shape your wool into more of a ball shape. If they have become flat on any sides, then put in the dryer until completely dry. I remove mine during this process and reshape a few times, but if your ball is very tightly woven it shouldn't be necessary to do this often.

Lastly, you will have to use sharp scissors to cut away the panty hose or tights. I start at the knots and slowly cut down the sides. If you just pull at the hose it will be woven with the wool and will take some of the wool with it. With patience and sharp scissors you can easily remove the hose material in strips without pulling the wool away from the ball.
That's it! You now have your own set of wool dryer balls!


