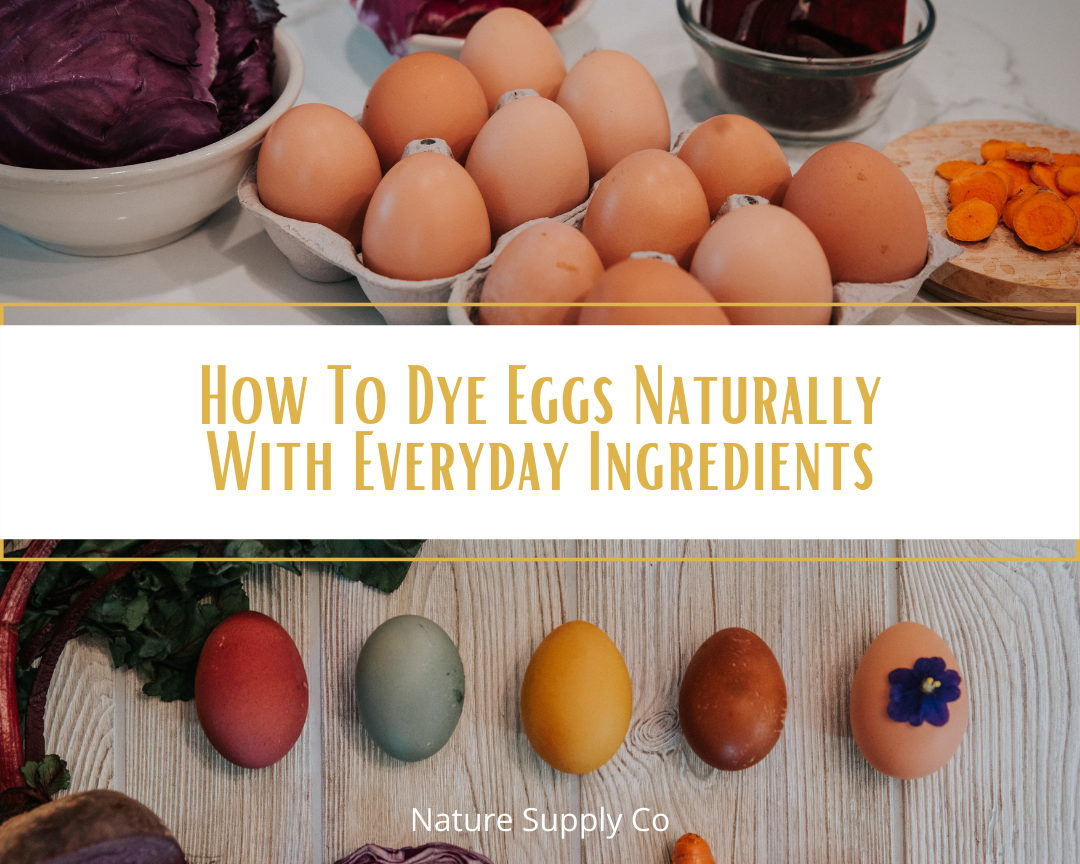
How To Dye Eggs Naturally With Everyday Ingredients
Naturally-dyed Easter eggs are a fun, eco-friendly alternative to store bought dyes and the kiddos love to see the colors that you can create from nature! From purple cabbage to turmeric, you can make homemade Easter egg dye out of tons of ingredients in your kitchen. The possibilities are endless - have fun creating and experimenting!
Things to keep in mind: The effect of the dyes will vary depending on how concentrated the dye is, what color egg you use, and how long and how many times the eggs are immersed in the dye. Err on the side of more material rather than less when creating your dye. Here's a handy guide to follow:

- Beets = pink on white eggs, maroon on brown eggs
- Purple cabbage = blue on white eggs, green on brown eggs
- Turmeric = yellow eggs
- Red onion skins = red or brown eggs
How To Make Naturally Dyed Easter Eggs
What You'll Need
Ingredients:
- Eggs (hard-boiled), room temperature (white or brown eggs)
- Water
- 1 cup chopped purple cabbage per cup of water
- 1 cup red onion skins per cup of water
- 1 cup shredded beets per cup of water
- 2 tablespoons ground turmeric or two handfuls of fresh chopped turmeric per cup of water
- White distilled vinegar (1 tablespoon per cup of strained dye)
Equipment
- Saucepan with lid
- Paper towels or an old towel
- Slotted spoon
- Strainer
- Bowls or jars for each color of egg
How to Make Naturally Dyed Eggs:
- Gather your ingredients: You can make separate batches of different colors or one large batch of a single color.
- Add water to saucepan: Pour the amount of water you need for the dye you're making into a saucepan.
- Start making the dye: Add the dye matter (purple cabbage, onion skins, etc.) and bring the water to a boil.
- Adjust the heat: Turn the heat down to low and simmer, covered, for 15 to 30 minutes.
- Check the color: The dye is ready when it reaches a hue of a few shades darker than you want for your egg. You can test this by dripping a little dye onto a white dish. When the dye is as dark as you like, remove the pan from the heat and let the dye cool to room temperature.
- Strain the dye: Pour the cooled dye through a fine-mesh trainer into another bowl or saucepan (or into a bowl then back into the original pan if that's all you have)
- Add vinegar: Stir the vinegar into the dye - use 1 tablespoon of vinegar per cup.
- Submerge the eggs into the dye: Add the eggs to the cooled dye in the saucepan. Lowering them gently so they don't break/crack. Make sure the eggs are completely submerged.
- Put the eggs in the fridge: Transfer the eggs in the dye to the fridge and chill until the desired color is reached.
- (Optional) Dry and oil the eggs: Carefully dry the eggs, and then massage in a little oil to each one. Polish with a paper towel. This will make them have a nice pretty shine. Store the eggs in the fridge until it is time to eat or hide them.

How to Store Dyed Easter Eggs:
As with all dyed Easter eggs, these eggs look best right after dying. Time spent in the fridge can cause eggs to look splotchy and uneven. So, if you are using these for Easter as decoration, we recommend dying them the same day.
Additional Notes:
- If you want your eggs to be more vibrant and less pastel, give the eggs multiple soaks in the dye, being sure to dry them between in the dye soaks. The more times you soak them in the dye, the deeper the color will be.
- Be sure to cover your area with a old towel or paper towels because these naturally made dyes will stain your surfaces.
Nature's rainbow - in the form of using kitchen scraps and food you probably already have on hand.
PIN HERE


